
Technology Guide
Using the AV system
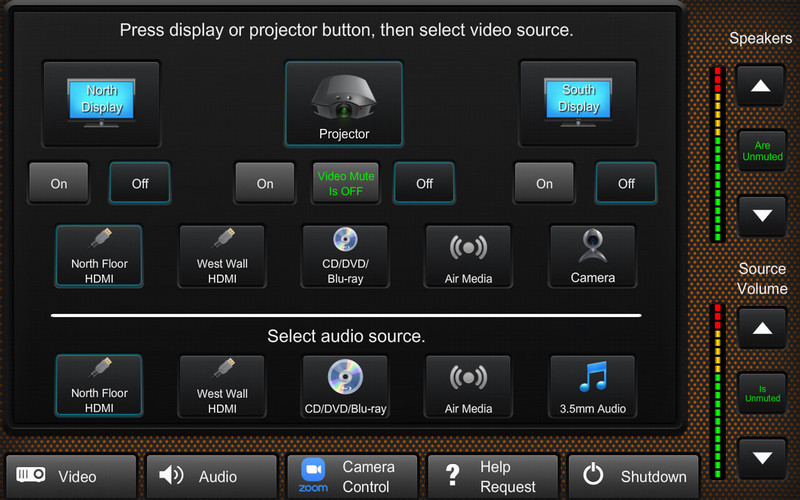
Press anywhere on the touch screen to wake the system, the sound system will be active and the signal routing page will appear. By default the system starts with the projector and the floor pocket HDMI selected for audio and video, indicated by a blue band around the active selection.
Pressing projector On will turn on the projector and lower the screen, pressing Off or Shutdown (confirm on the following page) will turn off the projector and raise the screen. Turn the wall displays on and off in a similar fashion. To add flexibility to the space, audio and video can be routed independently. Press the desired video destination (projector or monitor), then select the appropriate video and audio sources. All three displays are independent and can show the same or different video content. There is a 3.5mm headphone jack in the floor pocket near the podium, and you can also connect an HDMI source to play audio without need for the projector or displays.
Presentation content and room audio (microphones) can be easily integrated into your Zoom (or other platform) meeting. In this way, you do not have to worry about screen sharing, you can simply select your laptop content at the press of a button.
To begin, connect your computer to the USB port labelled Camera on the front of the rack near the floor (cable is stored in the rack drawer). In Zoom, select EasyIP as both your microphone and your camera (i.e. video source), Crestron as your speaker. Also in Zoom, select HD Video, Original Ratio, and deselect Video Mirroring.
IMPORTANT: When using the system in conjunction with Zoom, you must extend your desktop. If you duplicate (mirror), you'll experience video feedback.
Of equal importance is ensuring your extended monitor is set to 1920 x 1080, otherwise your image will be compressed.
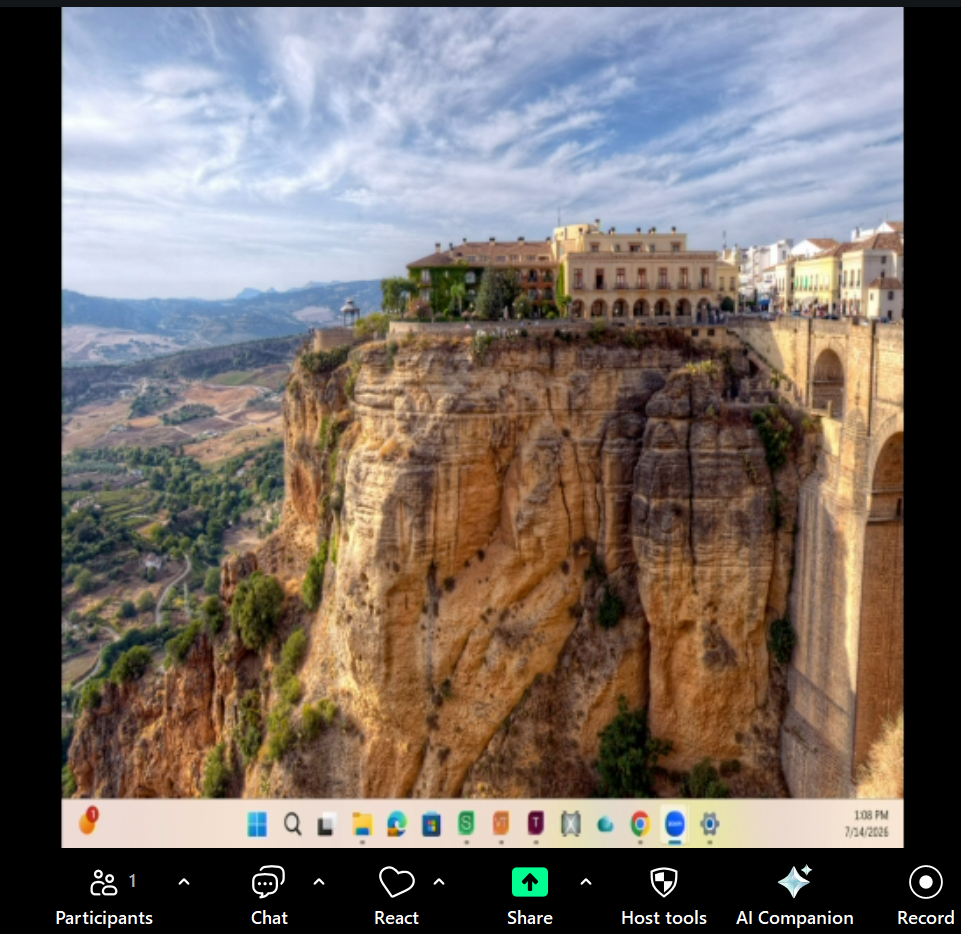
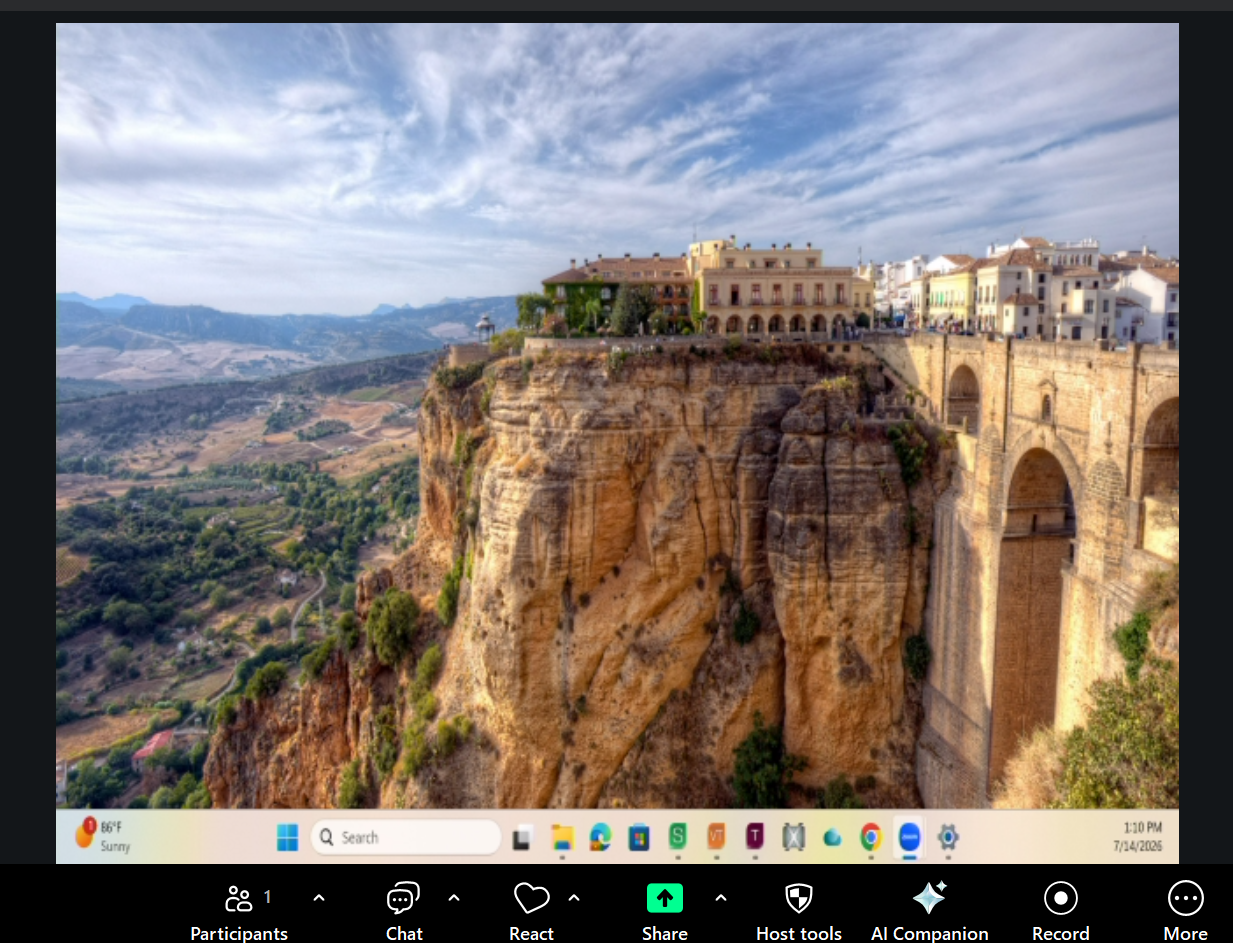
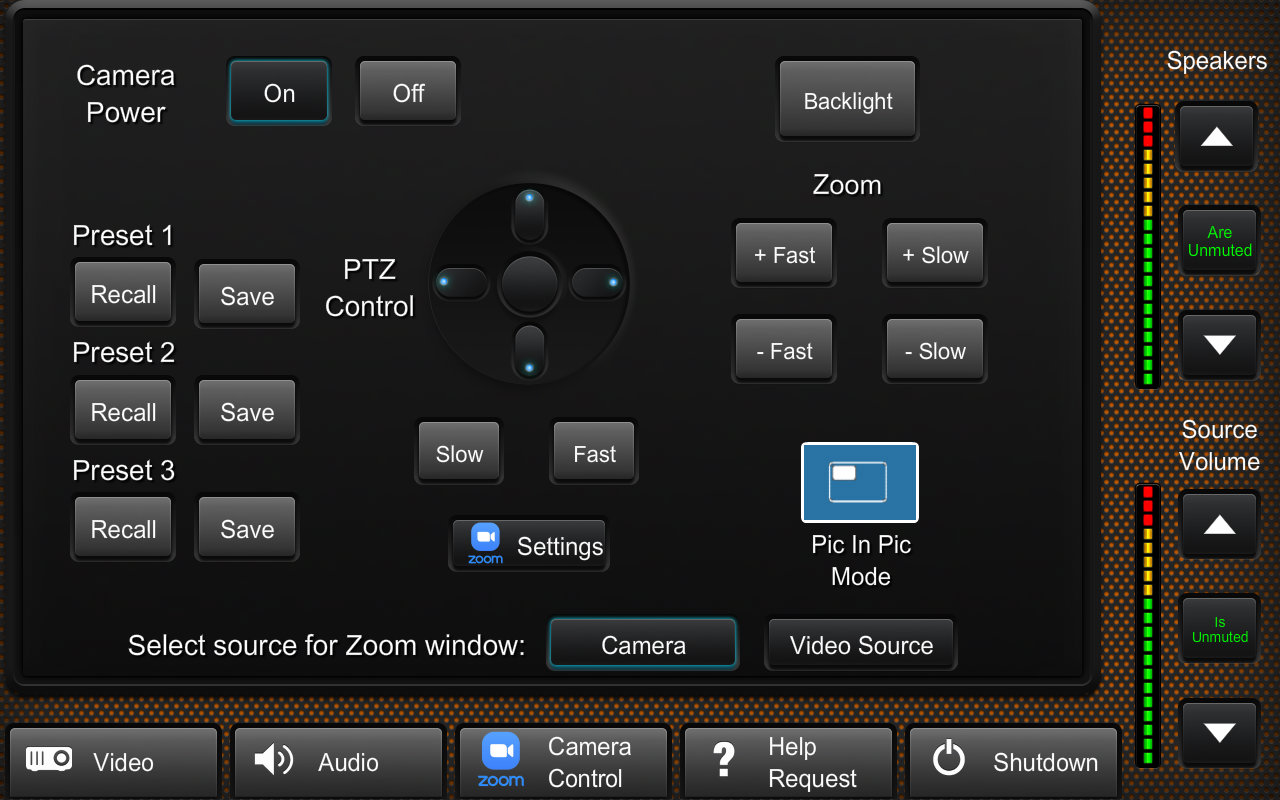
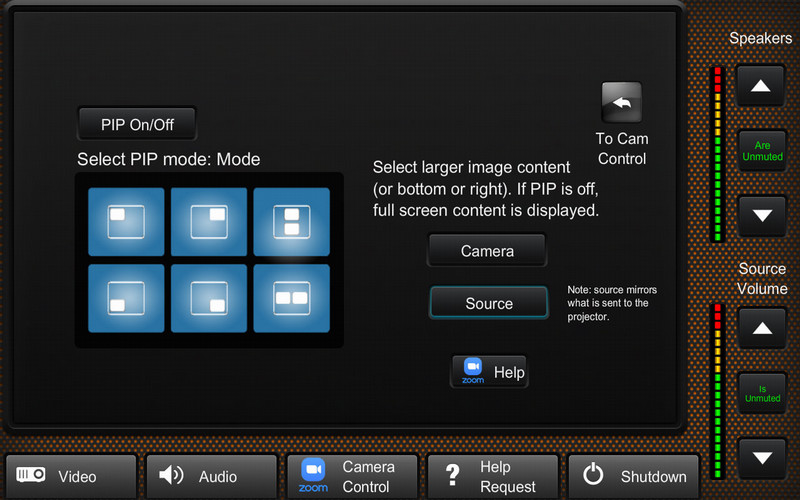 Press the Camera Control button in the menu bar, and power the camera on. Press the Camera button and use your meeting window as a visual guide to adjust the camera to the desired position using the control joystick (you must first select the speed) or by recalling a preset. If you'd like to include both camera and source content simultaneously, press the Pic in Pic Mode button. On the following page, turn PIP on and select how you'd like the display configured. Be sure you have selected Original Ration in Zoom, or the inset image will be cropped.
My laptop won't connect to HDMI
Reboot your laptop.
If using the adapter, try another USB port.
Try another adapter.
My laptop seems to be connected but no image is displayed
Check that you have selected a display (projector or monitor) and that the appropriate HDMI button is
highlighted.
My laptop isn't sending audio
Be sure your audio output is set for Crestron.
Try using 3.5mm audio with HDMI (connect to the floor pocket, select 3.5mm audio).
My laptop is playing audio and video but the signal is scrambled and erratic
Try using 3.5mm with HDMI as outlined in Additional Features.
If you are still experiencing problems, contact the Solutions Center (719-389-6449) or email AV Support.
show all / hide all